
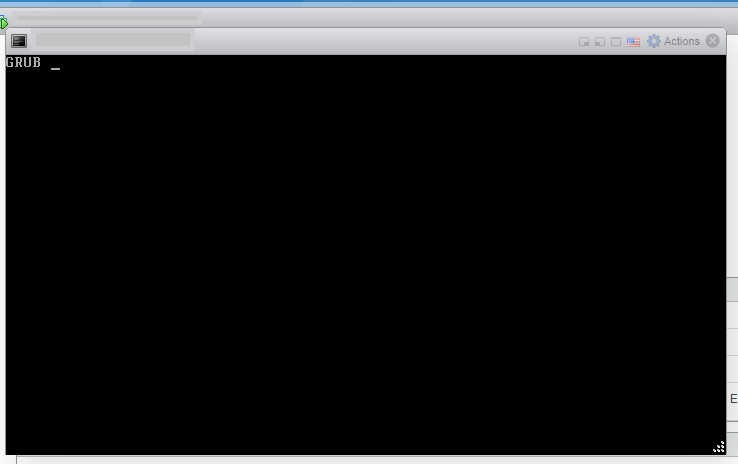
I recently shutdown our VCSA to complete some maintenance to the host it was on. Booted the host, Booted the VCSA and was greeted with the sight no sysadmin wants to see: GRUB _
No shell, no menu, nuffin!
In all linux, it means that the the boot flag is set on the drive, but it cant find the entry point of the boot loader (GRUB).
I’m sure that someone can happily correct me on that point. But effectively, GRUB is broken and the machine won’t boot
The fix in this case is a simple GRUB reinstall from a LiveCD, but with VMware appliances that’s a risky idea… Not because Linux is scary but because VMware use their own OS (Based off Redhat) but also modify the heck out of it!
When I hit this, I was able to open a SEV1 with VMware support. If you can do that, totally recommend that you do that.
If you don’t have the luxury of opening a case with VMware, I’ll post what we did below.
I must stress that you do this AT YOUR OWN RISK. This is what I saw with VCSA 6.7, but your millage may vary.
I used a CentOS 7 Install / Recovery CD. The VMware article said Ubuntu would also work, but given VCSA is a Redhat distro, I would still stick with a Redhat CD
The end goal here is to do a chroot into the VMware install
There is an ISO mentioned in the below steps which was provided to me by VMware. I am not going to share this, however, it was an ISO that only contained grub2-pc.rpm. You should be able to burn your own or bring up network inside your live CD to obtain a copy.
Boot the LiveCD (CentOS Recommended)
Allow it to run the autodiscover to find the partitions and install
(If you can't find one, you will need to mount /dev/sda1, /dev/sda3, then loopmount sys/dev/proc) (Step 4)

Ensure you take a backup / snapshot before proceeding!!!!

 1) Using lsblk - make sure the sda disk looks like this:
 lsblk -f | less
 /dev/sda1 is ext4
 /dev/sda2 is swap
 /dev/sda3 is ext4
 /dev/sda4 is grub

 2) Make sure this shows all zeros to confirm that this is the same problem that we are fixing.
 hexdump -C /dev/sda4

 3) Ensure that cd drive is available which contains grub2-pc rpm
 ls /dev/sr1

 4) The below commands create a directory and then mounts and complete binds
 NOTE! Only required if you are using a LiveCD that didn't detect the install!
 mkdir /mnt/sysimage
 mount /dev/sda3 /mnt/sysimage
 mount /dev/sda1 /mnt/sysimage/boot
 cd /mnt/sysimage
 mount --bind /proc proc
 mount --bind /sys sys
 mount --bind /dev dev
 cd root
 mkdir cdrom
 mount /dev/sr1 cdrom

 4) This should show the grub2-pc rpm.
 ls cdrom

 5) Check your Present Working Directory
 pwd
 /mnt/sysimage

 6) This step will let you into the root filesystem of the non-working VC
 chroot /mnt/sysimage

 7) to verify the contents of grub are zero before doing grub install
 hexdump -C /dev/sda4

 8) Ensure grub2-pc is not installed already. This command shouldn't show any output.
 rpm -qa grub2-pc

 9) Install grub2-pc with
 rpm -i grub2-pc

 10) Back up the contents of /boot before re-installing grub.
 cd /root
 cp -r /boot .

 11) Completing the grub install
 grub2-install /dev/sda

 12) To verify the contents of sda4 after grub install
 hexdump -C /dev/sda4

 13) Shutdown the host
 poweroff

 14) Disconnect the CD/DVD's and then poweron.
2 comments
Thank you for posting this. It was helpful to point my support engineer here as he was eventually able to find the internal KB. Do you know what triggered this in your environment? I experienced the same thing this morning, and don’t know what root cause is.
Author
No worries! Glad to hear it helped someone!!